Your first draft of the design looks good on paper. You are one step closer to realizing your vision of the product. The technology concepts were proven to work on breadboard testbeds and you are starting to think about manufacturing your product in the quantities your investors expect to fulfill the backlog for which your customers have been patiently waiting. It is at this time that many companies get tripped up.
Productization of your design is not easy. However, with a methodical approach to building prototypes, you will be production ready to fulfill those orders. Intuitively you know that things do not always go right, and you may need to have more than one “prototype build” to shake things out. Iteration is the key to success but how much can you afford? You can maximize the learning and minimize the time and investment of each iteration through careful and informed planning.
Each engineering and business function required for a successful launch will benefit from iterations that come with each of the prototype builds. Thoughtful planning will make the difference between a successful product launch and a costly failure. Take the time to plan for each build. Each build will have a different level of part tooling and a different level of design maturity. Some builds may have custom parts coming from a supply base that is making them for the first time. The factory needs to learn the best way to assemble the product. How will quality control be achieved as volumes ramp up to avoid costly issues affecting customers and your brand? It is best not to wait for all of these answers before starting to build the first prototypes. You need to learn as much as you can as soon as possible to shorten your time to market. This is the nature of New Product Introduction (NPI).
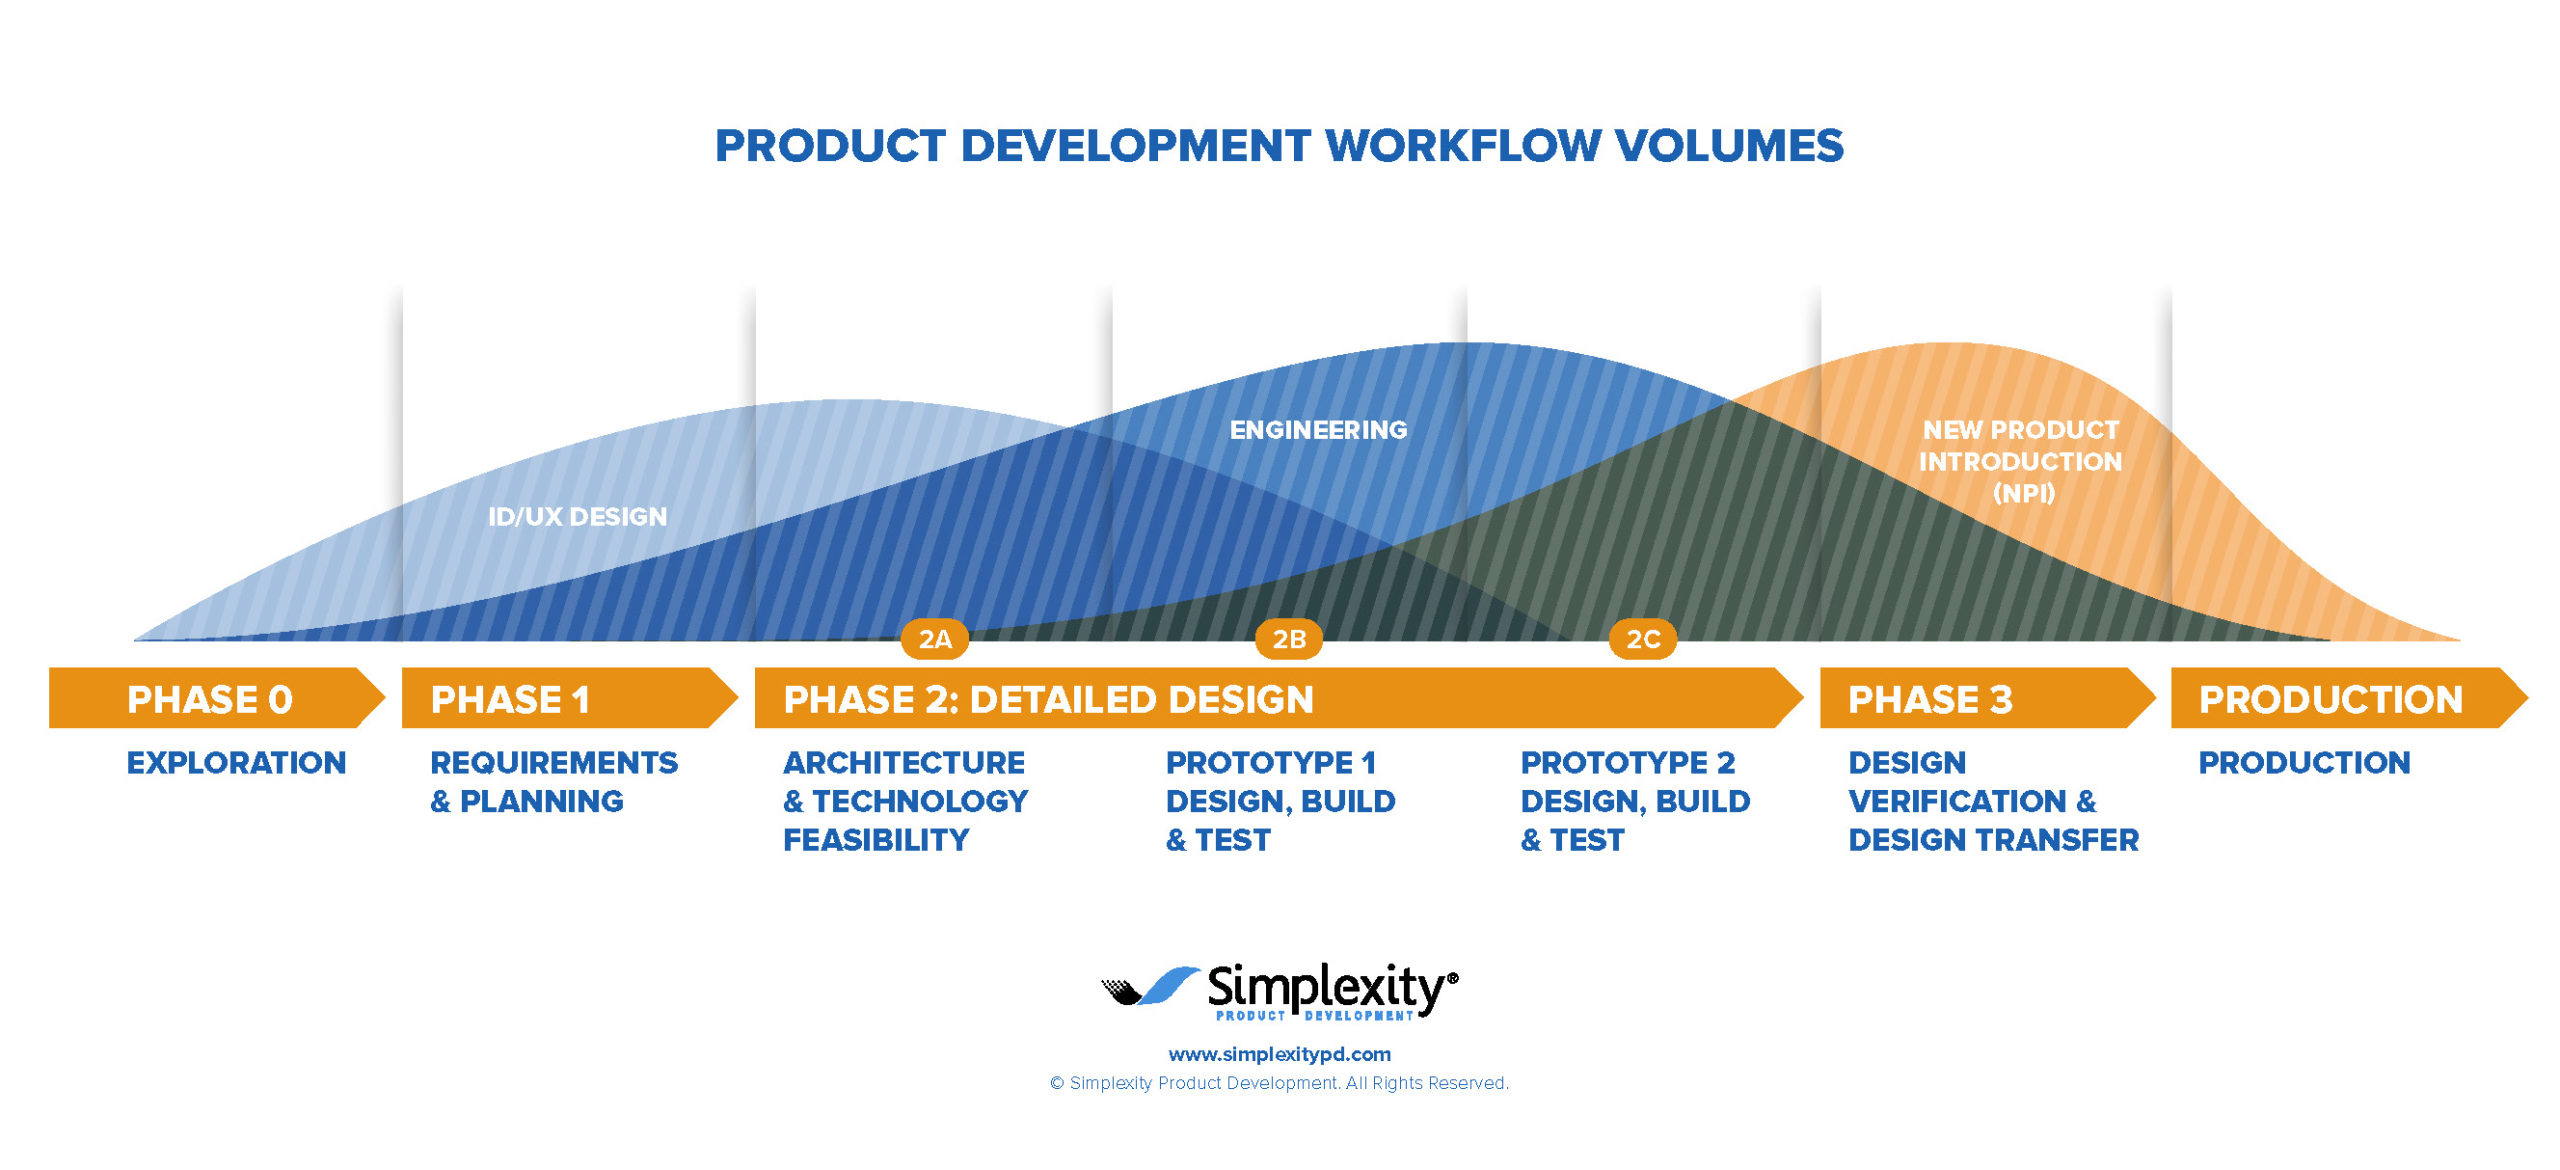
New Product Introduction Objectives:
Start with your objectives for each area: Design, Manufacturing, Test, and Quality. Those objectives will be different from build to build as the project progresses through its Phases from Prototype 1 through Production.
The first prototype build will often use fast-turn prototype parts (e.g., 3D printed parts, non-form factor PCAs, and test scripts). With this first build you will begin to learn about fit and function of the design, but the parts will not be as accurate or have the same material properties as an injection molded part from a production mold. The performance objective for this first build should take this into consideration. Design engineers will want to know how their mechanism performs. Sub-systems need to be within a performance range that will maximize customer satisfaction. The engineers will need these prototypes to help them define that range and to define their test methods. Structured data collection becomes important. How many prototypes can you afford to build and still get “good” data? The early ones are expensive. The build planning needs to start way before this first build and include a collaborative discussion about the prototype testing that will effectively take the project to the next phase.
Video clip of assembling parts for a prototype build
Tooling:
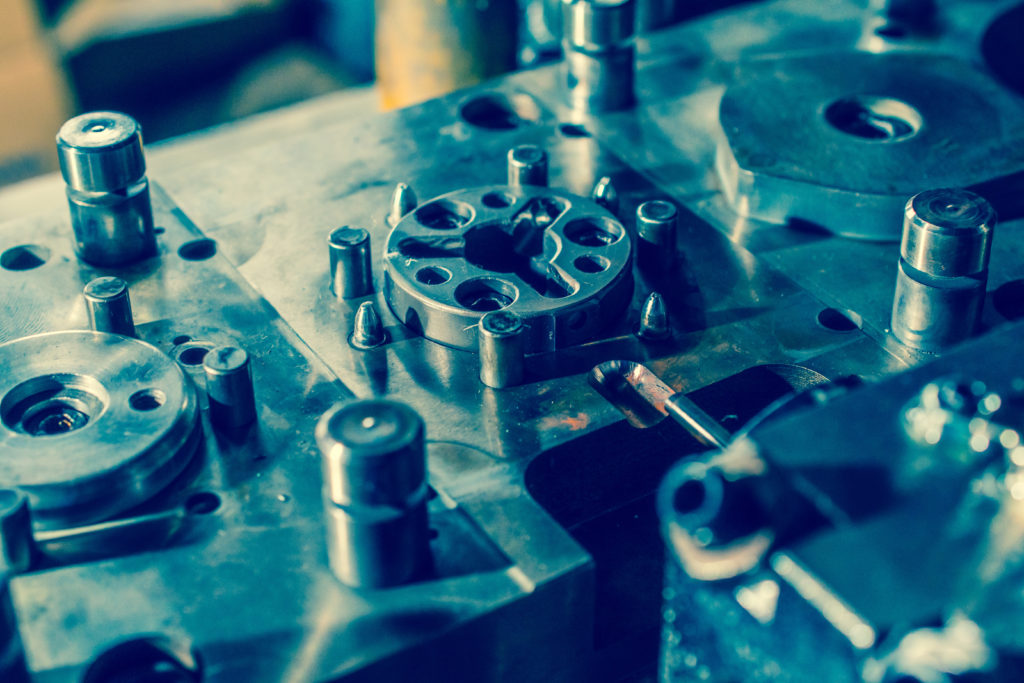
Tooling for part fabrication will have different lead-times. High volume injection molding and stamping dies can take some time to build and qualify as well as production PCAs and their long lead-time components. Parts from these tools can be introduced into prototype builds and should line up with the build objectives. Prototype builds can use “T1” parts from the first mold trials. Consider when these parts will be available. Part texture and other refinements will not be incorporated yet, but it is still helpful to use these first molded parts as soon as possible. This is where your Tooling Plan/Schedule maps into your Build Plan. By the time you get to the last prototype build, you want all parts to be made using final production tooling.
Firmware:
If your product uses embedded software, your firmware engineers will want to test their code on real products and eventually dial in their parameters after all the design changes are made. Firmware will be developed with each prototype build. Final code may not be ready until close to production. Luckily, the lead time to change firmware is much faster than hard tooled physical parts. Often, design teams will rely on firmware fixes to address a wide variety of system issues. “Fix it in firmware” may be the mantra in the later build cycles.
Early Marketing Units:
The Marketing team will want early physically representative prototypes for photo shoots to develop long lead-time advertising as well as fully functional prototypes from later builds for usability testing and market studies.
Regulatory and Reliability Testing:
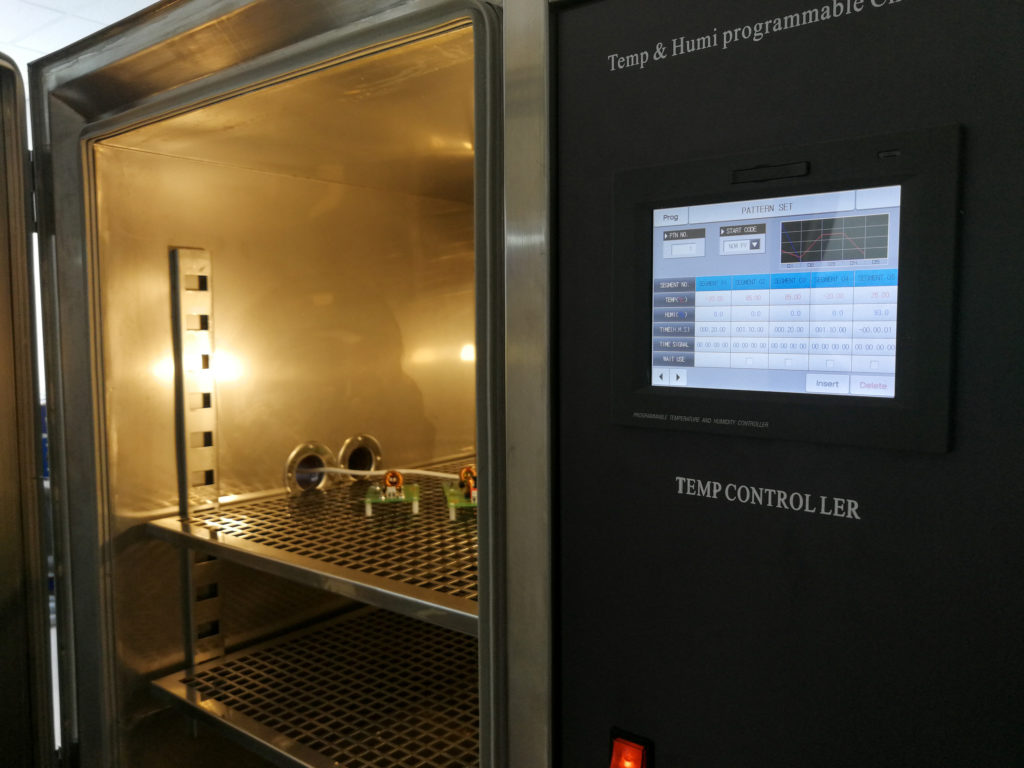
Your product may need regulatory certifications for safety, manufacturing, electromagnetic compatibility, and/or other compliance areas. Prototypes should be available in the right configuration at the right time for this testing. Reliable products are achieved by destructive product testing. Do not just try to pass a test. Find out where the produce breaks. You may find that the weakest link is easily fixed early in the development by just adding a fillet to a corner avoiding costly warrantee support in the future. Determine how many products will be destroyed in testing and how many can be reused for different tests. This is where your Test Plan/Schedule maps into your Build Plan.
Prototype Build Planning:
With all these teams clamoring to learn about Design, Manufacturing, Test, and Quality, it is important to build the right number of prototype units at the right time to achieve the right objective. Build too many prototypes and you will bust the budget. Build too few and the delayed learnings could cost you time-to-market or worse. Waiting to build prototypes until everything is stabilized will make those design issues much more costly to fix. Careful and considered Prototype build planning with tight collaboration between all functions will get you production ready in the shortest time and the lowest total cost.

